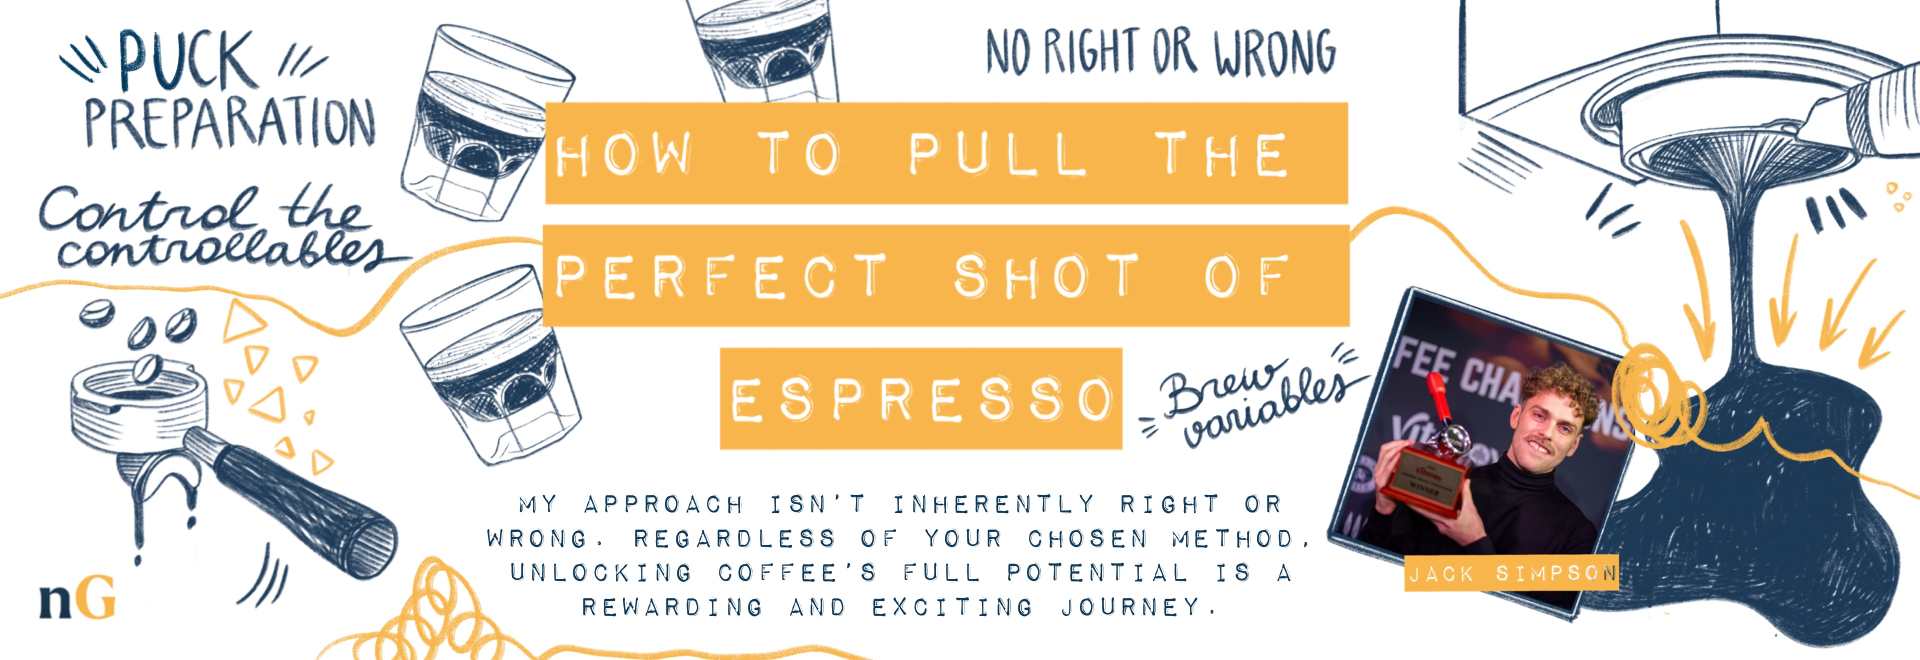
How to pull the perfect shot of espresso
Ever wondered how to pull the perfect shot of espresso? Australian Barista Champion Jack Simpson gives us his step-by-step approach
Over the last eleven years of being a barista, pulling the “perfect espresso” has been a target I’ve always been chasing.
Whether dialling in the single origin in the morning before the first customer walks in the door or working with a lot of coffee that I’m using for competition – I tell myself that there is a “perfect” expression for this coffee and I just need to find it.
The longer we work as baristas, the more we realise how little we know about coffee, and it’s easy to get lost down the rabbit hole of extraction theory all for the pursuit of excellence.
As a barista competitor, I’ve dedicated countless hours to achieving the best espresso possible. This meant testing countless variables and making incremental changes to my approach so I could realise what it brought to the cup.
Having put this work in, I’d like to share how I approach a new coffee I’ve never tried before.
Control the controllables
Anyone standing behind the espresso machine will receive a bag of coffee containing uncontrollable factors, such as its processing method, roast date, and how long it’s been stored.
But we have the coffee and the machine needed to extract it – so that’s what we need to focus on.
As such, we must understand as much as we can about these two elements. For example, we need to identify the roast level and how hard or soft the brew water is.
This can vary a lot, and without specialised equipment to measure these factors, it can be difficult. However, we’re pulling the perfect espresso shot here, so tools like a spectrophotometer – which uses infrared light to determine roast degree – can help get specific when dialling in.
For the sake of this example, we’ll be brewing a medium roast using Melbourne tap water – which is soft, sitting around 50 to 60 parts per million (ppm).
Most baristas understand the impact of roast level on coffee’s solubility, but many don’t realise that water hardness plays an equally important role. In the case of Melbourne’s soft water, it contains fewer mineral ions, which leads to more efficient extraction as it allows for better dissolution of coffee solids – resulting in higher extraction yields.
As such, it’s important to know if you’re working with hard or soft water. It doesn’t have to be down to the part per million, a general ballpark will do.
In this instance, I’d set the water temperature to 93.5 degrees with a pump pressure of 9 Bars, and use a 20g basket.
Puck preparation
The perfect espresso can live or die with its puck preparation. There are many different ways to approach this – by hand, or using one of a thousand tools that exist on the market today.
For me, I prefer the Stockfleth method. This means using your index finger to sweep the surface of the coffee with a slight downward pressure to evenly distribute the coffee around the basket. Alternatively, coffee needle distribution tools run needles through the entire coffee bed, distributing it evenly from top to bottom.
Regardless of the method you choose, the goal is not just a flat surface; but achieving an even density of coffee grounds throughout the entire puck of coffee. This will ensure even extraction; plus, it will mean your coffee reacts more consistently in response to your brew variables.
Brew variables
There are a myriad of variables that influence the outcome of your espresso. To understand their individual effects in the cup, it’s important to only adjust one at a time.
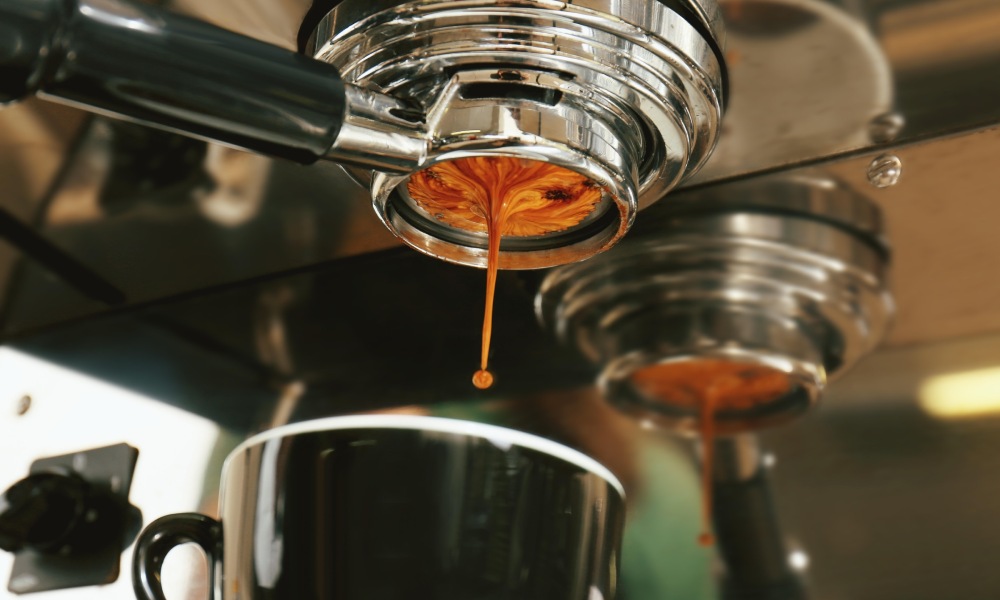
To begin, we need a starting recipe. With limited information at this point, I usually start with a coffee-to-water ratio of 1:2. For this example, 20g of coffee in the basket would mean 40g of liquid espresso. I’d aim for an extraction time of between 24 and 32 seconds. We may zero in on this variable at the end, but that’s a good range to start with.
So now to taste the first espresso!
How does it taste?
I try to avoid using words like “good”, “bad”, or “under/over-extracted” because there are many individual subtleties in espresso, and these terms don’t aid our decision-making process for the next steps.
Instead, I think about “taste”, “balance”, “sweetness”, “acidic”, and “bitterness” – scoring them from low, medium, to high.
My primary goal is to achieve a balanced espresso. Balance doesn’t necessarily mean that sweetness, acidity, and bitterness all have to be at medium levels; it’s about how these elements harmonise to create a delicious espresso. If they work together, we’ve done our job.
Next comes texture. An espresso can be creamy and heavy, or light with a delicate silky mouthfeel. In general, a lower yield will result in a heavier body, as the liquid espresso will contain a higher concentration of dissolved coffee compared to a shot with a higher yield – where more brew water has passed through it.
Having said this, each coffee has its own unique mouthfeel – experiment until you have achieved what you (and your customers) are looking for.
There’s no right or wrong here – the key is to ensure it remains balanced, not losing sight of how the espresso feels on your palate. In fact, a well-textured espresso is a sign of excellent extraction.
Finally, consider the flavour. I’ve sometimes focused too much on achieving specific tasting notes, like citrus fruits, only to realise I’ve made an espresso with high acidity and no sweetness. Tasting notes should follow a well-extracted espresso, not the other way around.
In other words, a good barista will allow the natural flavours of the coffee to shine through – honouring the quality of the raw materials – rather than adjusting your brew parameters in an attempt to squeeze out the flavour profile you desire.
In most cases, customers prefer a balanced espresso over one that tastes like sour candy!
Adjusting brew parameters
Following the principle of altering only one variable at a time, I start with yield, then dose, then time.
To start with, I either increase or decrease the yield. For instance, if the espresso is intense with high acidity, low bitterness, and a grainy texture, this would tell me to increase extraction through yield. Alternatively, if the espresso is thin, watery, with a lingering bitterness, this would suggest I should reduce the yield.
Once we have achieved a well-balanced espresso, you can adjust the dose while maintaining the same brew ratio. For instance, if you start with 20g of ground coffee for 40g of liquid espresso, you can scale it to 21g:42g. This keeps a similar overall flavour profile but enables you to lock in what tastes the best.
Lastly, I use “time” to fine-tune the espresso. As a general rule, longer contact time between brew water and coffee reduces acidity and increases bitterness. This is a brief, final step to minor adjustments.
No right or wrong
My approach isn’t inherently right or wrong. Regardless of your chosen method, unlocking coffee’s full potential is a rewarding and exciting journey.
But with our ever-changing preferences, does the perfect shot of espresso exist? I believe it does.
What makes coffee so fascinating (and frustrating, at times) is its subjectivity. I might enjoy something that others might not, but we don’t have to be world barista champions or certified judges to make or appreciate the perfect espresso. What matters most is that it’s what we like – that’s what makes it perfect.
New Ground Coffee
Want to read more articles like this? Sign up for our newsletter!